Adding a new customer
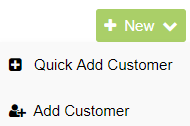
Users can add customer by clicking on the "New" button in the Customer Management page. Clicking this button then shows two options for the user to add a new customer; Quick Add Customer or Add Customer.

1. Quick Add Customer
Quick add customer is useful and convenient when the user doesn't want to fill out a lot customer details, just the necessary one that allows an invoice to be sent to that customer. Clicking on "Quick Add Customer" shows the following pop-up:

All fields except the phone number are required. Once entered, press "Save" to save the information to the database. Not completing any of the required field will cause the following error:

2. Add Customer
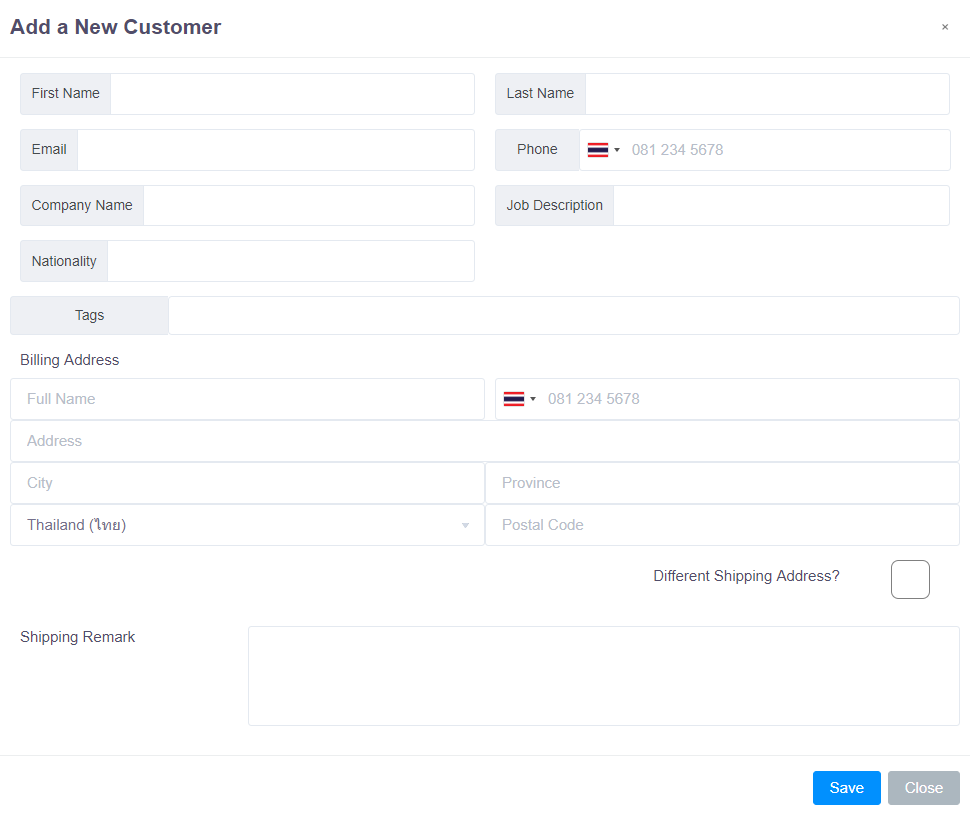
If the user wants to fill out all details about the customer, please click on the second option, "Add Customer". Clicking on "Add Customer" button shows the following pop-up:
 The "First Name", "Last Name" and "Email" fields are required fields. Clicking the flag on the "Phone" field will allow the user to change the country code of the phone number to the desired country and the user can just neglect the first 0 of the number and write the rest of the number down.
The tags in the "Tags" field are designed to let users group or classify customers together under the same tag, which will help the user to easily see, for example, who are the regular customers of this merchant. Tags can be added by clicking on the field. Once clicked, a list of available tags will be shown.

Users can add/remove tags in the list by going into Merchant Settings page, under the "Tags" menu. Selected tags can be identified by looking at the highlighted area in the list. Selected tags can be removed by pressing the 🞨 button in the selected tag.
For further information on tags, please navigate to Customer Tags section of the documentation.
If the customer has a different billing and shipping address, the user can tick on the "Different Shipping Address?" checkbox. Clicking on this checkbox will show additional fields where the user can input the shipping address of this customer.

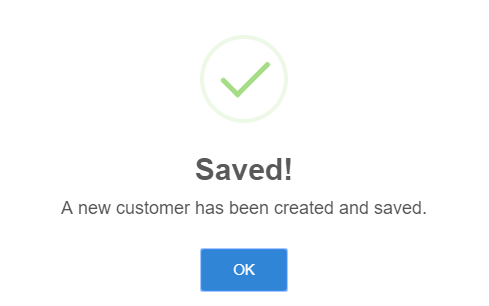
Once all fields are filled out and satisfied, press the "Save" button to save the customer's information. The following message confirms that the customer information has been saved.
