Customer Tags
Tag is a simple but powerful tool for organizing the customers. A set of tags can be use for tagging customers with the same interests or behavior.
View customer tags
To view current customer tags, Click on Tags tab as image below.

At first, the system creates seven sample tags for the merchant to tagging the customers. If these tags are not fit the preferences, feel free to create new ones, edit or delete the default tags.

Add a New customer tag
There are simple four steps to add a new tag. First, click on Add New button on the top left, below a title.
 Second, click in the input box and type a tag's name, such as "Man" like in this example. The name can hold up to 50 characters and cannot contain only numeric characters. There is no limit of how much tags one merchant can have.
Tip:
Use concise and meaningful words to naming tags. Not only it is easier to remember, but also faster when searching and filtering customers.
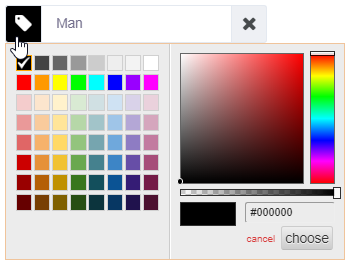
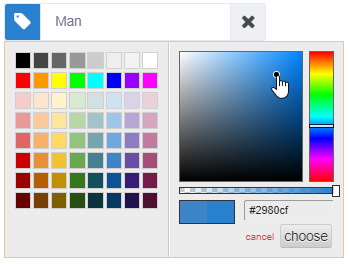
The next step is optional, but is strongly recommended. Also assign a color for tag by click on a tag icon, then select the prefered color. Do not select the color that too pale, because the white text may be invisible.
The last step is click on Save button on the top right.

The screen will show a confirmation message.
The system allows adding multiple tags at the same time. When finished, click on Save button on the top right.
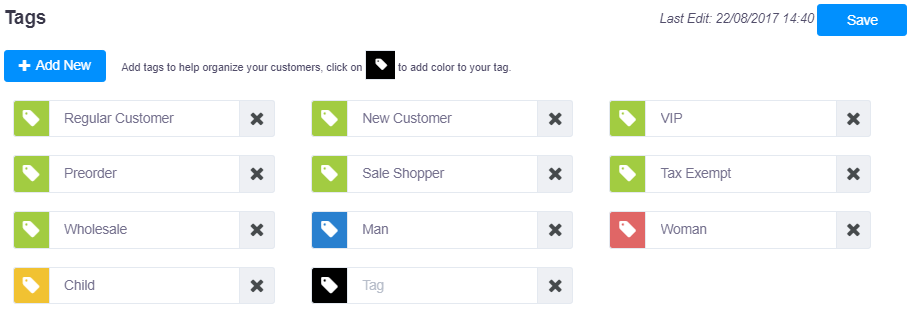
Notice that blank tags with no text will not be saved.
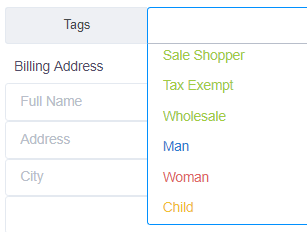
 Now, the new tags will be listed when adding customer information as well.
Edit a customer tag
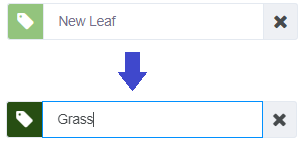
To edit a customer tag, change tag name by click inside input box and change tag's color by click on tag icon.


After clicked Save button, the screen will show a confirmation message.

After saved, customer information will also update.
Delete a customer tags
To delete a customer tags, click on cross "🞨" button to remove.

Tip:
To restore unintentional deleted tags, refresh a page without clicking the save button. After saved, deleted tag are gone forever. They will still display in customers who were tagged, but not listed in options for adding to new customers
Click on Save button on the top right. The screen will show a confirmation message.

