Customer Management
The customer management page was designed to make managing a customer an easy task. In order to achieve this, the user interface was designed to be used easily without actually requiring to learn how to use the page.
The user interface of this page can be seen below:
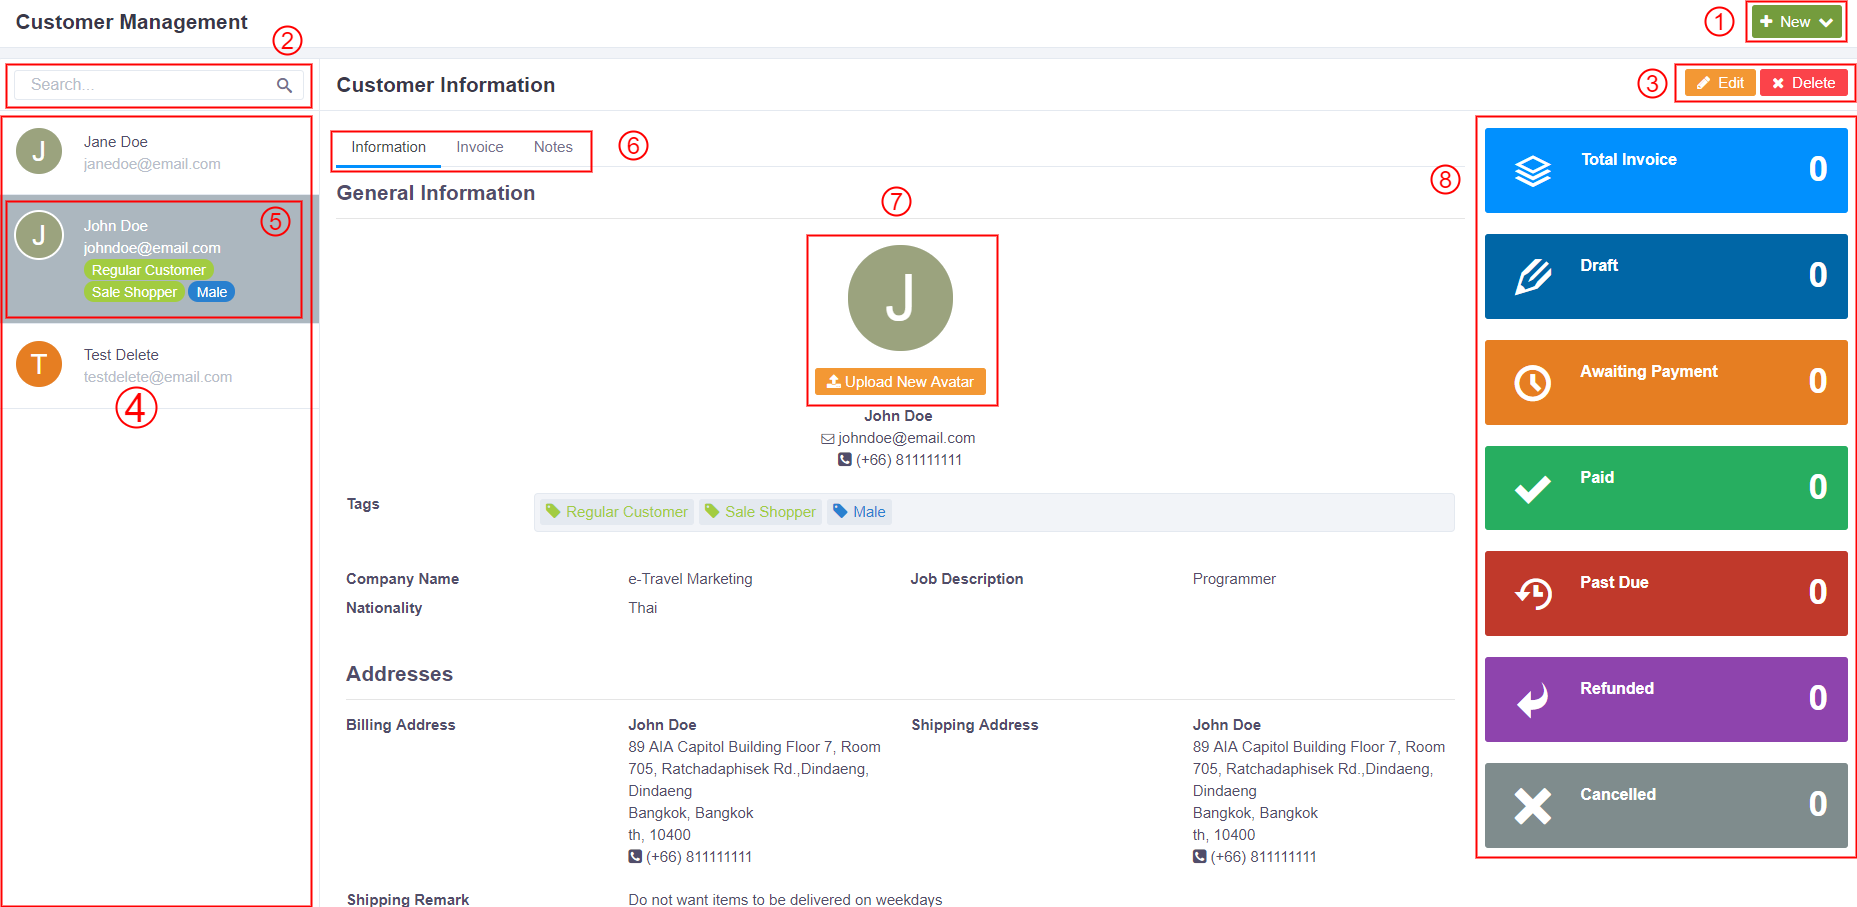
Note:
Number shown in the image above will now be referenced with ( ). For example, when the author writes (1), please refer to where the number 1 in the image is.
1. Adding a new customer
To add a new customer simply click on the "New" button at (1). The user can now see two options as show in the image below:
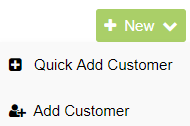
Further information about adding a new customer to the customer management tool can be found on the Adding a new customer section.
2. Search box
The user can use the search box to search and filter the customer list in (4) by the following:
- Customer's first name
- Customer's last name
- Customer's email
- Customer tag(s)
The user can press enter, click on the search icon (magnifying glass) or wait a bit after the search term has been entered to search and filter customers
3. Edit & Delete
The user can edit or delete a customer from the database. For further information, please navigate to the Edit or Delete section of the documentation
4. Customers List
On the left hand side of the screen, the user will find all the customer associated with the merchant. By clicking on any customer card in the list, the customer's information will be shown on the area on the right. The selected customer will be highlighted in gray.
5. Customer Card
The customer card shows three things
- Customer's full name
- Customer's email
- Customer's tag
(5) shows all the tags associated with this customer, which will allow the user to group the customer according to a tag. The filter by tag feature will be coming soon.
6. Tabs
At (6), the user will find useful tabs that they can navigate to.
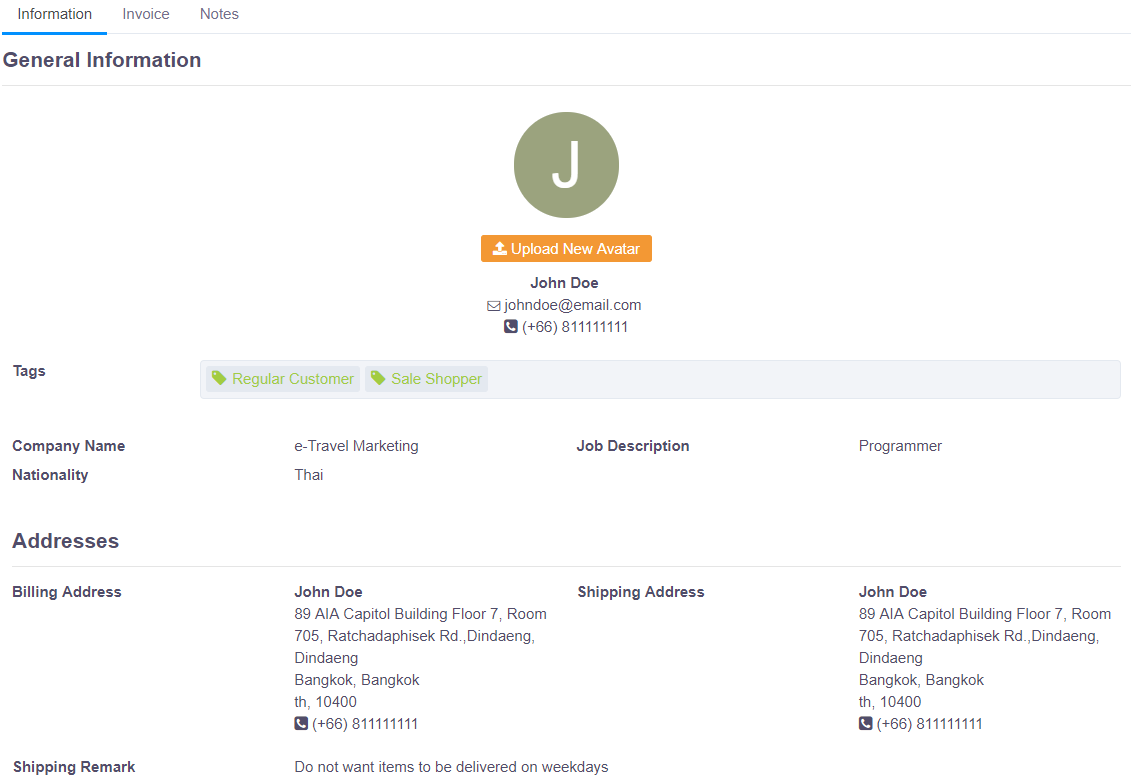
- Information - the information tab contains general information about the customer such as contacts, addresses and tags. On this tab, the user can upload a new profile picture for the customer as well. The user can edit the customer's information by clicking on the "Edit" button located at (3)
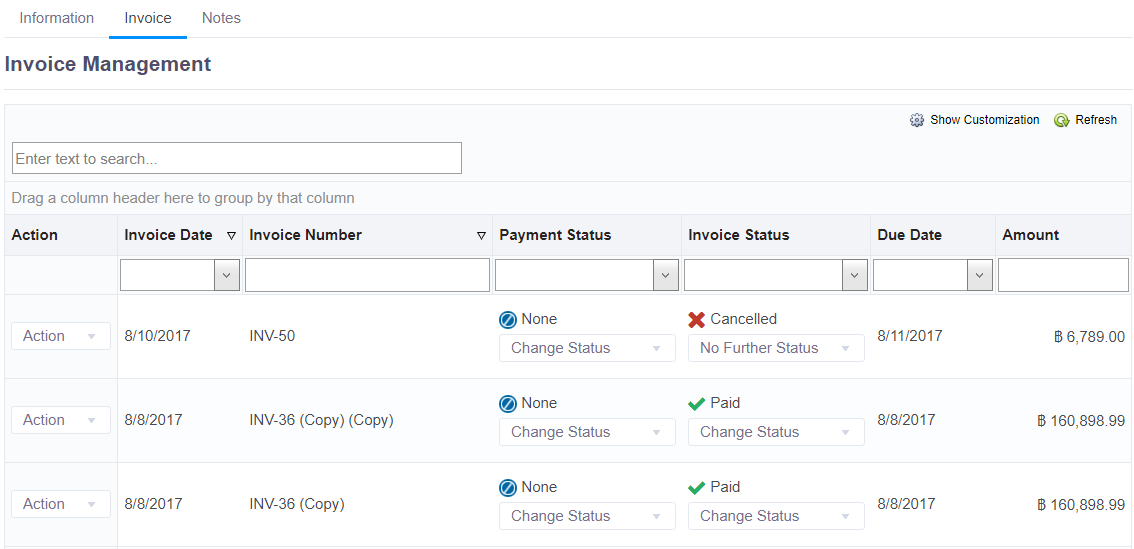
- Invoice - contains all invoice that is associated with this customer. The layout of the invoice tab is similar to the one found in Invoice Management page. Further information on how to use the table can be found in the Invoice Management section.
- Notes - this tab allows the user to quickly add a quick note to this customer.
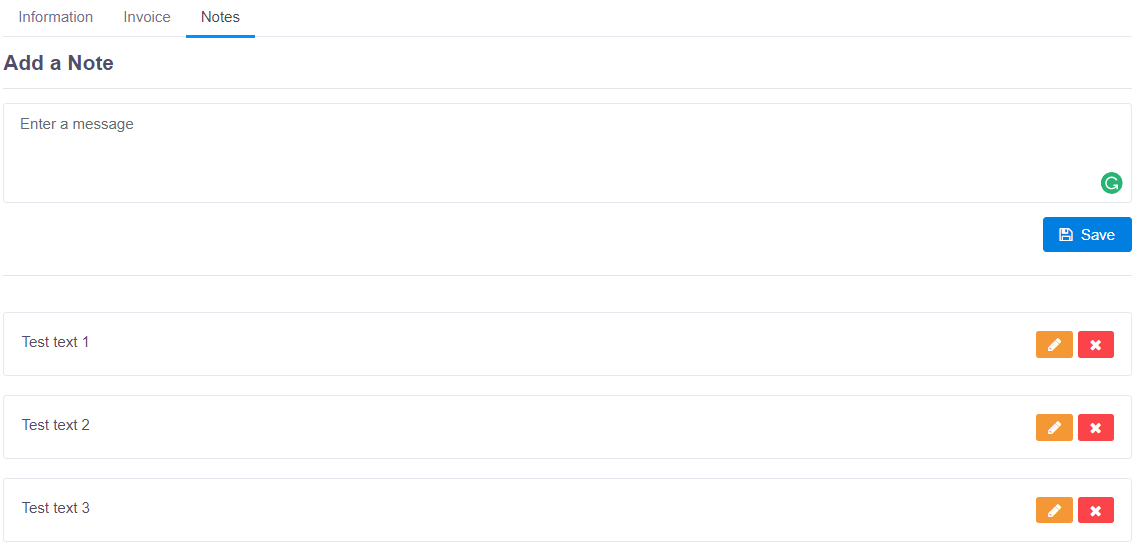 To add a note, simply enter the message in the "Enter a message" box. Once satisfied, press "Save". The entered text will automatically appear in the area below the line. The user can edit the saved notes by pressing the pencil icon on the note that the user wants to change, after changes are satisfied, press the blue floppy disk icon to save.
A note can be deleted by pressing the 🞨 button.

7. Customer's Profile Photo
The customer management tool allows the user to add a profile picture to the customer. Photos can be upload by pressing the "Upload New Avatar" button located at (7). Pressing on the button will open up a pop-up that looks like the image below:
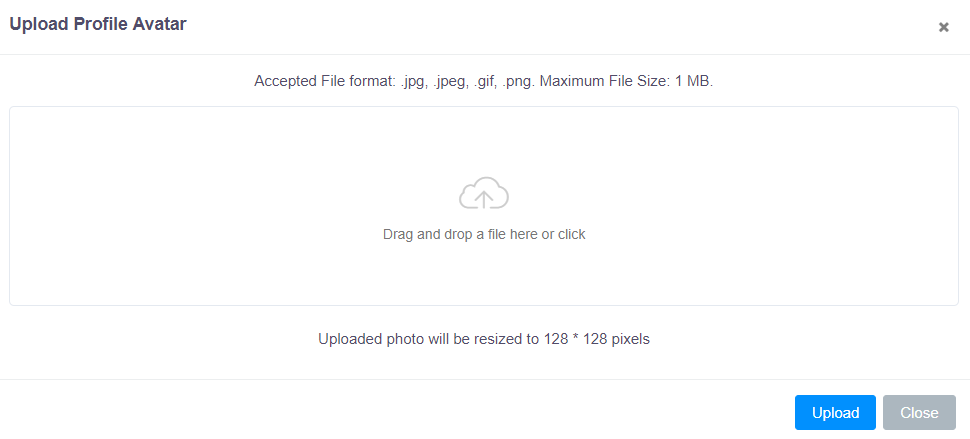
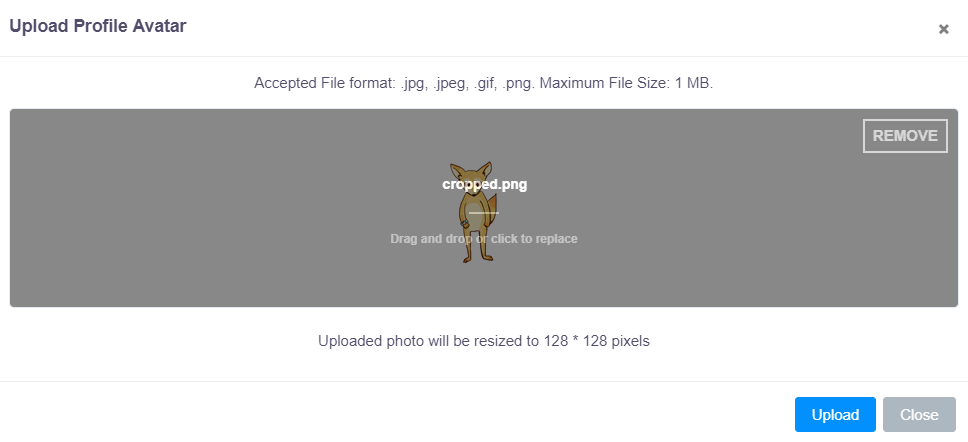
A photo can be uploaded by clicking on the box or dragging and dropping a file from the user's computer directly on to the webpage. Once a photo had been added to the box, please click on Upload to confirm.
IMPORTANT
It is important to note that uploaded photo will be resized to 128 * 128 pixels. It is recommended the uploaded photo be resized by the user before hand because the way the photo is resized by the service is finding the center of the image and crop out a 128 * 128 square from the center. This may cause the picture's outcome to not be as the user expected.
To remove a profile picture from the customer, simply press on the remove button located at the top right corner of the box, and press on the "Upload" button. Sometimes, changes may not take effect immediately, please refresh the page if this occurs.
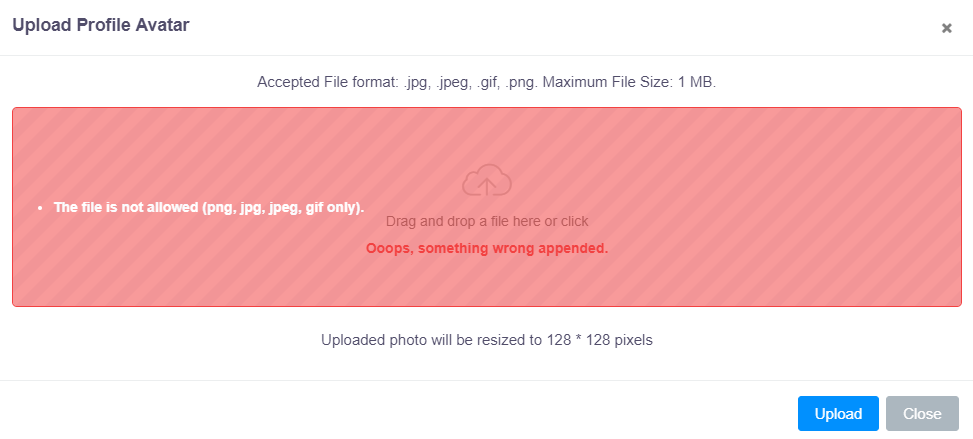
 If anything doesn't meet the requirement of the uploaded image condition, an error message that looks like this one will show up:
8. Customer's invoice summary
At (8), all customer's invoice summary can be seen. Showing the total number of invoice at each invoice's status associated with this customer.