Profile
Users with role level higher than "Employee" can change their profile settings in the Account Settings page. In this page the user can:
- Reset account password
- Upload Profile Avatar
- Change personal information
Reset Password
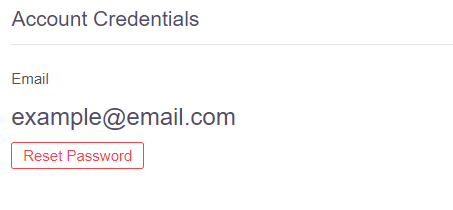
To reset the user's password, simply click the Reset Password button. A confirmation pop-up will then appear to confirm the user.
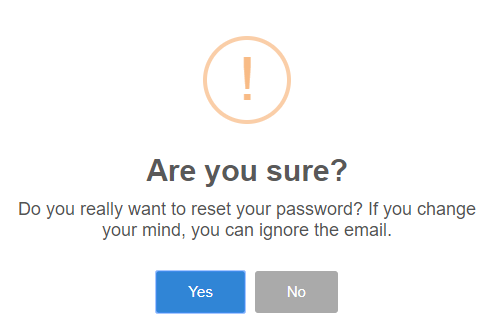
The user can click No to go back or click Yes to confirm resetting the password process
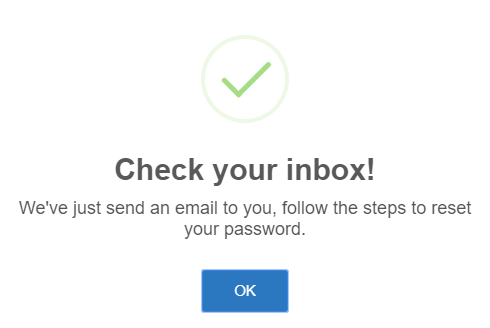
Once confirmed, an email will be sent to the above email, asking the user to click on the link to change the password.
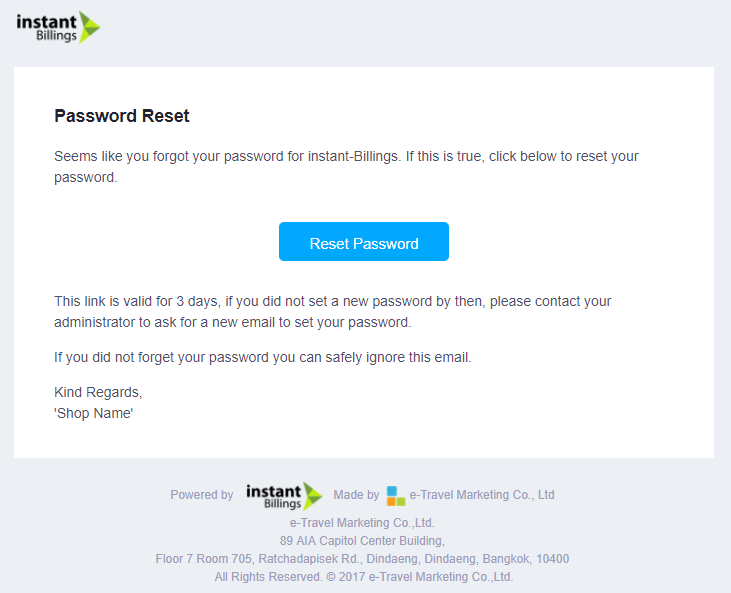
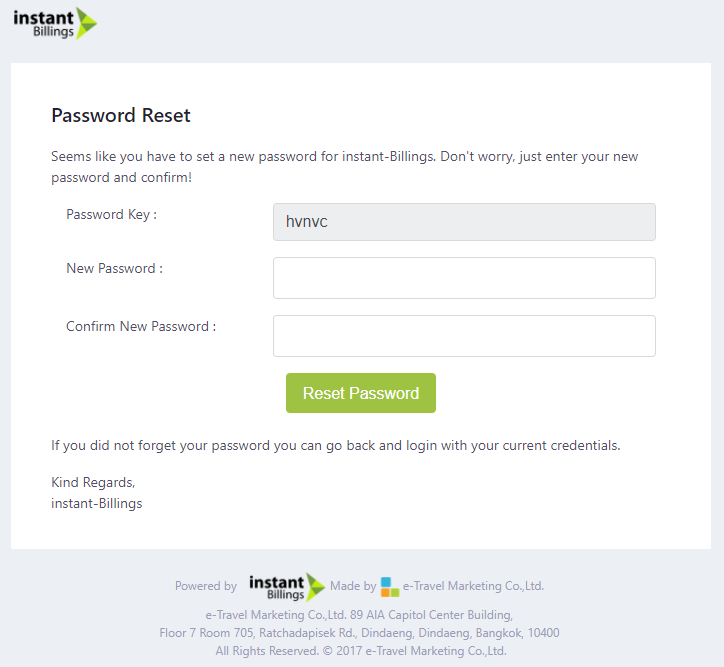
Press Reset Password to begin setting the new password as shown below:
Note:
The reset password link is valid for 3 days. If the link had expired please come back to the Account Settings page and request a new one by clicking on the Reset Password button
Upload Profile Avatar
To upload a profile avatar simply click on the Upload Profile Avatar button.

Clicking on the button will show the following pop-up on the screen:
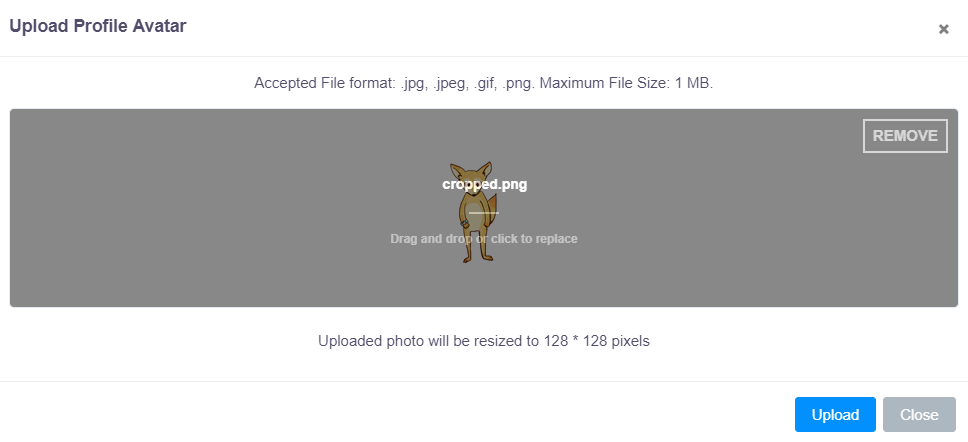
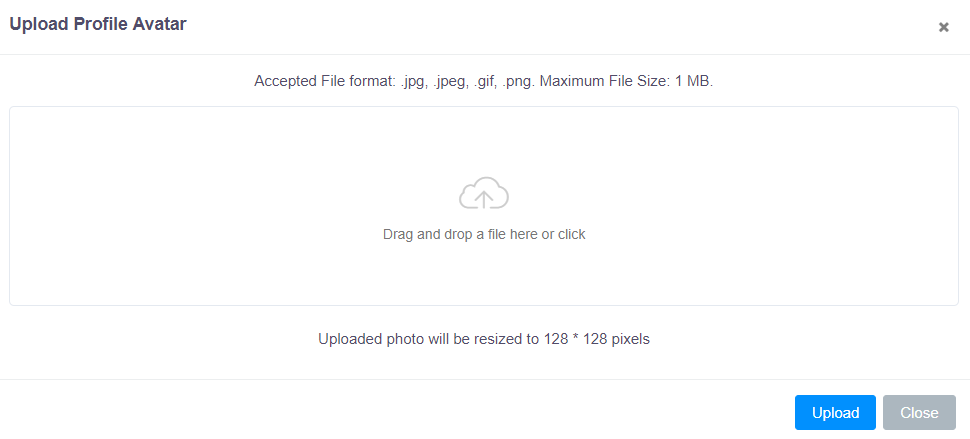 A photo can be uploaded by clicking on the box or dragging and dropping a file from the user's computer directly on to the webpage. Once a photo had been added to the box, please click on Upload to confirm.
IMPORTANT
It is important to note that uploaded photo will be resized to 128 * 128 pixels. It is recommended the uploaded photo be resized by the user before hand because the way the photo is resized by the service is finding the center of the image and crop out a 128 * 128 square from the center. This may cause the picture's outcome to not be as the user expected.
To remove a profile picture from the account, simply press on the remove button located at the top right corner of the box, and press on the Upload button. Sometimes, changes may not take effect immediately, please refresh the page if this occurs.
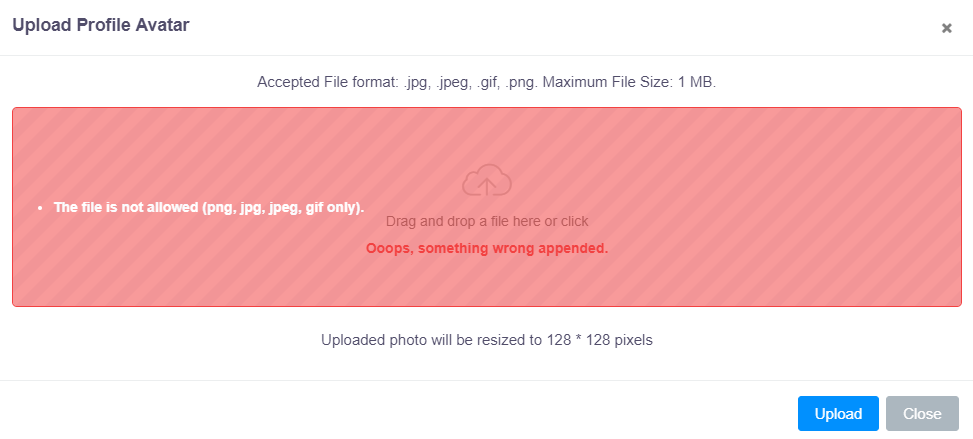
 If anything doesn't meet the requirement of the uploaded image condition, an error message that looks like this one will show up:
Changing personal information
The user's personal information can be changed in the form below:
 Clicking the flag on the phone field will allow the user to change the country code of the phone number to the desired country and the user can just write the rest of the number down without the country code.
Once changes are satisfied, click the Save button that looks like the one in the image below, located in the top right corner of the screen.
