Account Settings
The Account Settings page consists of two tabs. Profile and Account Management tab.
Profile
In the Profile tab, users can change information related to their account such as updating profile pictures or changing user information.
Account Management & Master Account Management
Adding new users
If the user has a role level higher than employee, they can access the Account Management tab.
The account management page is designed to make account creation easy for the user. Here the user can create additional accounts for the merchant.
There are two ways that an account can be created:
1. The merchant owner or designated merchant administrator creates an account for new users
A new user can be created manually by the owner or administrator by clicking the New button located in the top right corner of the screen:

Once clicked, a pop-up will appear in the table that looks like this:

There are three roles that can be assigned to an account, Owner, Merchant Administrator and Employee, the three roles has the following permission:
- Owner - All access to the service
- Merchant Administrator - All access to the service except overriding ownership
- Employee - Can't access Report, Account Management and Merchant Settings
Tip
Remember to check the Enable checkbox as well, or else the newly created user will not be able to login into the service
REMARK
Warning! Adding Master accounts can be done via the Master Account Management ONLY. Please refer to the Master Account Management section of the documentation.
2. Get a sharable link or QR Code which can be used by anyone to register into the service
Another way to create a new user is to share the register link or QR Code to anyone that the user wants to register to the service. To get the sharable link or the QR Code, simply click on the Get Register Link as shown below:

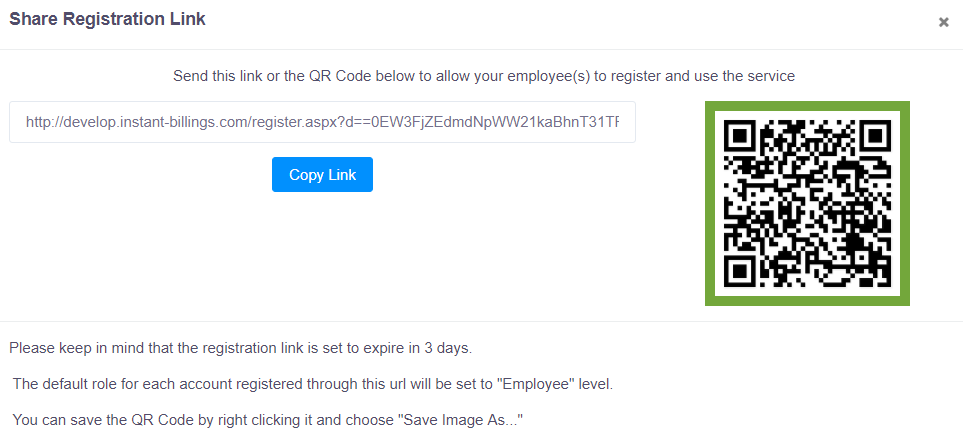
Clicking on the button, will show the following pop-up on the user's screen
 To get the link, simply click on Copy Link to copy the register link to the user's clipboard and paste it anywhere. Alternatively, the user can save the QR Code image by right clicking the QR Code and choose Save Image As and share it anywhere the user wants.