Master Account Management
In the Account Management page simply navigate to Master Account Management tab in Account Settings page.
Only users with role level "Master Account" level can access the Master Account Management page
This section covers
- How to use the Master Account Management table
- How to add new users
- How to edit existing user's information
- How to delete user account
The image below shows a general overview of the user interface of the master account management page. The page is designed to make managing master accounts easy for the user and avoiding a big learning curve.
1. Add new users button
A new user can be created by manually into the table by clicking the New button shown in 1. Information on how to add new users can be found in Adding new master users section of the documentation.
2. Table Customisation
"Show Customization" allows the user to edit the table to the user's liking and needs. Here the user can sort, group, filter or choose columns the user wants to appear on the table.
If the user wants to cancel all changes made, simply press the 🞨 button on the top left corner of the popup.
The user can also change the order of the selected columns that are displayed by press and hold the drag icon in front of the column name and drag it to sort and reorder the columns to however the user wants.
When all changes are satisfied by the user, simply press on the tick button to apply the changes made.
The default sorting for the table is descending "Invoice Date" and "Invoice Number". To sort the columns, please refer to the image below:
- To add coloumns to sort, click the checkbox.
- To remove a column from sort, click the red 🞨 button or uncheck the red button.
- To change from descending to ascending or vice versa, simply click the descending or ascending button next to the 🞨 button.
To group the column, please refer to the image below:
To add columns to group, click on the checkbox.
To remove a column from grouping, click the red 🞨 button or uncheck the check button.
To filter the table, simply click on the column and enter in the text you want it to filter by or for example, the user wants to filter accounts by role, simply click on the column and choose the role the user wants to filter by.
To choose which columns will be shown or not shown in the table, simply click on the eye button of each column. The crossed out eye button indicates that the crossed out column will not be shown.
3. Search box
In this box, you can enter text to search anything relevant to accounts associated with the merchant. For example, the user can search for users with the Role "Employee".
4. Table Heading and Column
By clicking on the column's name, the user can sort that column by descending order, or click again to sort the column by ascending order. The user can check whether the column is sort in descending or ascending by looking at which direction the arrow is pointing. If the arrow is facing downwards, the column is sorted in descending order and if the arrow is facing upwards, the column is sorted in ascending order.
The user can also click and hold the column's name and drag the column to rearrange where the user wants the column to be in on the table.
5. Actions
There are four actions that the user can perform on an account in the table. These are:
Edit - Allows the user to edit account's information that have role level below the user, for more information please navigate to Editing users section
Delete - Allow the user to remove an account that has role level below the user, for more information please navigate to Deleting users section
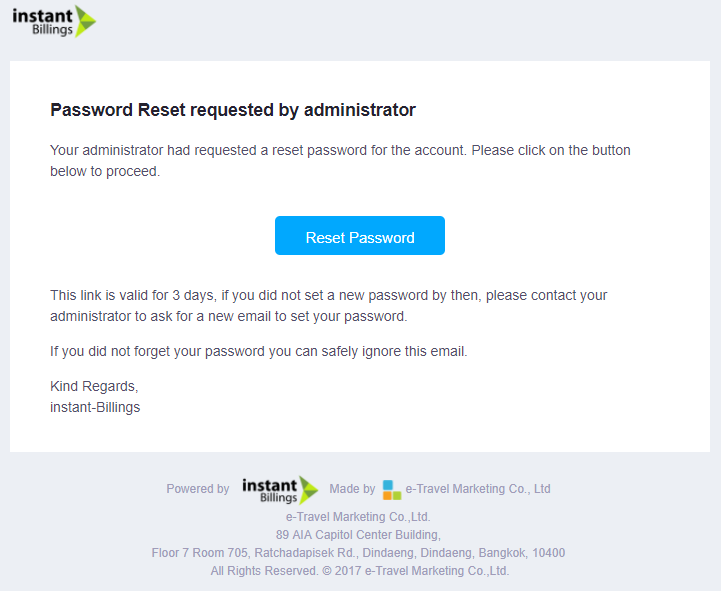
Reset Password - In case someone in the account list forgets their password and couldn't login into the service, the user can click on Reset Password for them. Clicking on this will send an email to the associated user to reset a password. The email looks like this:

- Link Merchant - This is the most important action of the table. If the user fails to link merchant(s) to the account, that user will not be able to access any merchant at all. To link merchants to an account, simply select the Link Merchant button in the action menu. A new window will appear on the screen and looks like this:
To add a merchant to this account simply start by typing the name of the merchant the user wants to attach to this account in the input field shown above. Alternatively, select from the options that appear below the input field. Once satisfied, click Save to link merchants to the account.